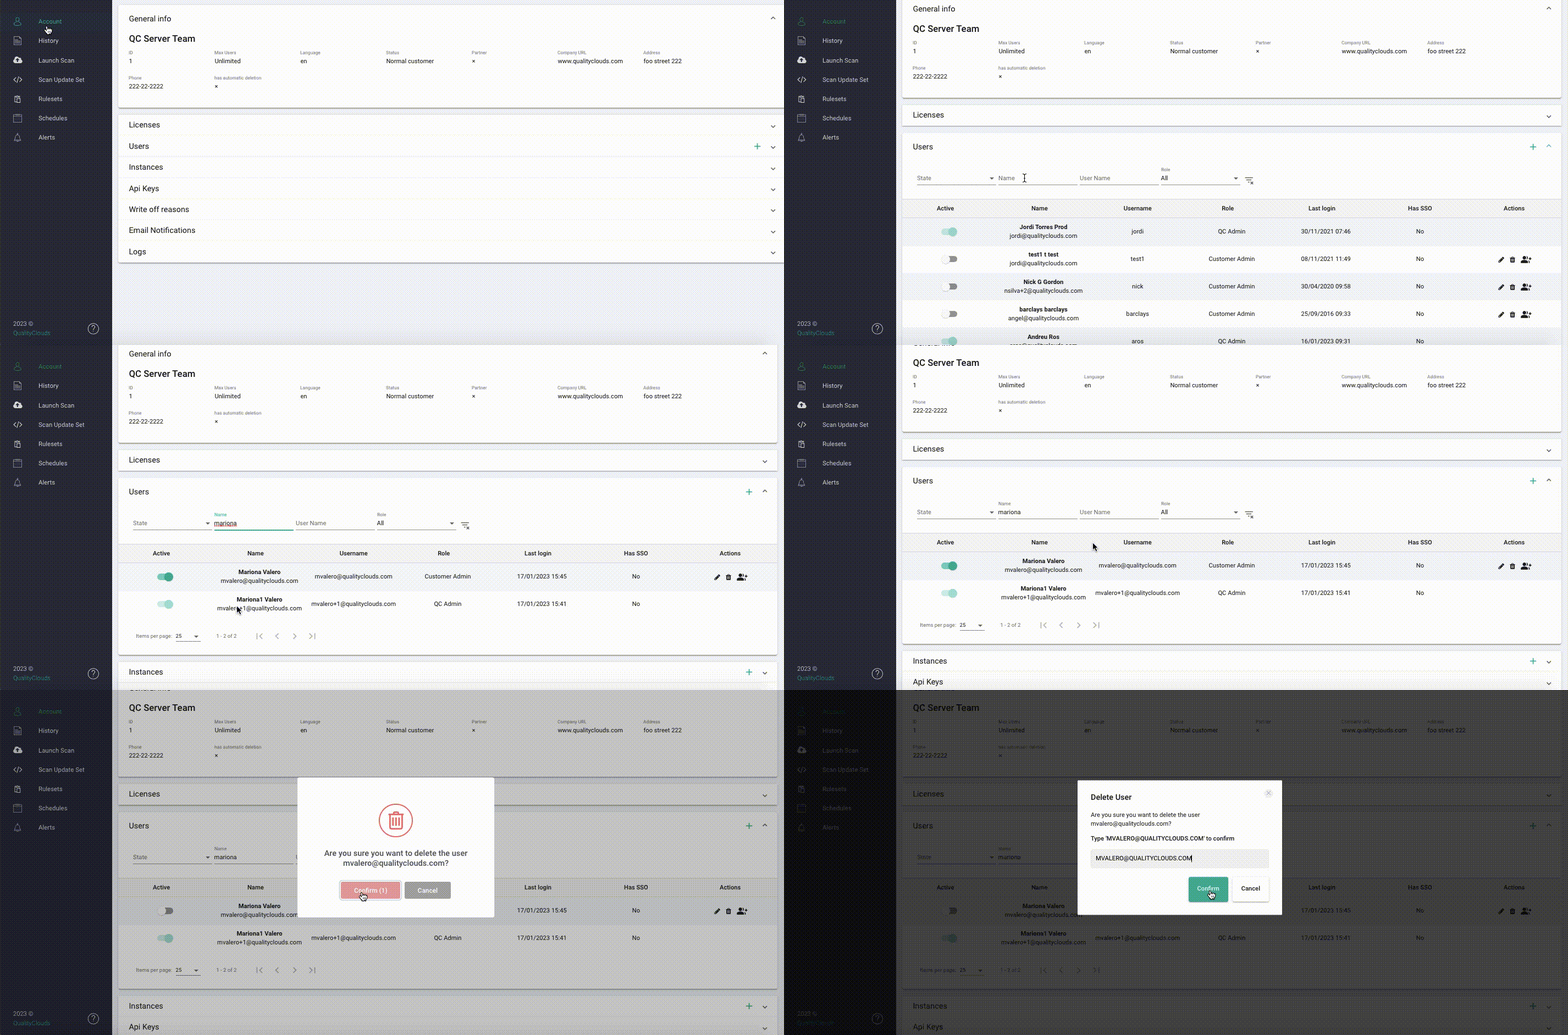
In the ‘User‘ tab, you can create and edit the users of your account.
Review existing users, add and activate new ones, and remove or deactivate those no longer needed. Additionally, reset user credentials, assign roles, and allocate portal views in this section.

What does each item show? #
- Active: Indicates whether a user is currently active or inactive on the platform. You can manage this status by adjusting the toggle
- Active: User is able to work in the platform.
- Inactive: User is no longer visible in the platform.
- Name: It shows the name and the username of the user.
- Username: It shows the username of the user.
- Role: It indicates the role of the user (Normal user, Project user or Customer Admin)
- Last login: Displays the exact time of the user’s most recent login to the platform..
- Has SSO: Single Sign-on enablement
- Actions: Users can edit, eliminate and, copy a user.
Types of users #
- Normal user: Consume the data through the views assigned, to solve issues detected, to organize user’s work through different views.
- Project user: Works with the specific assigned instances to track and solve issues detected in technical debt, to organize user’s work through specific instances and teams.
- Customer Admin: Administer and supervise different users, to organize all the work related to customer technical debt.
| Normal user | Project user | Customer Admin | |
| Account | x | ||
| History | x | x | x |
| Launch Scan | x | x | x |
| Scan Update Set | x | x | x |
| Rulesets | x | ||
| Schedule | x | ||
| Alerts | x | ||
| Create instances | x |
Adding a new user #
Include all users who will use the Quality Clouds portals in the user list. Additionally, you may add other admin users as needed.

→How to add a new user?
- Log in in Quality Clouds platform.
- Click the Admin icon

- Go to the Account section.
- Go to Users.
- Click on the + icon. A new user window opens.
- Add the required information:
- On the General tab:
- First name
- Last name
- Time Format: Choose between US and EU time display.
- ServiceNow/Salesforce/Office 365 views – assign the view to which the user will have access to.
- Role: you can assign the following roles: Normal user, Project user or Customer admin.
- Scan Launcher: Enable this setting to allow the user to manually launch scans from the Admin portal.
- Active: Enabling this setting will create the user in an active state.
- Is approver: Enabling this setting will make the user an approver for write-offs.
- Can download: Enable this setting to allow the user download the data for all views. P.O
- On the Credentials tab:
- Username
- Expiration: Set the default expiration period, choosing between 15, 30, and 90 days. Refer to your company’s security policy for guidance.
- Valid until:
- Password changed
- Send Activation Link: This will send an email with the activation link directly to the user’s email.
- On the General tab:
- Send an ‘Invitation link’ to activate the user.
- Click ‘Save‘.
Editing and removing users #
→How to edit a user?
- Log in in Quality Clouds platform.
- Click the Admin icon

- Go to the Account section.
- Go to Users.
- Locate the user through the filters.
- Click the edit icon.
- Make all the changes you need.
- Click ‘Save‘.

→ How to remove a user?
- Log in in Quality Clouds platform.
- Click the Admin icon

- Go to the Account section.
- Go to Users.
- Locate the user through the filters.
- Click the Delete button.
- Confirm the removal.
*To delete a user, the user needs to be deactivated first.

Inactive user’s delection #
→ To activate the automatic inactive user’s deletion contact support
With this feature enabled, the users that had been inactive for more than 9 months, will be deleted from the platform automatically and all their activity anonymized.
Resetting user credentials #
You can reset the user credentials for your colleagues.
→ To reset user credentials #
- Log in in Quality Clouds platform.
- Go to Account section.
- Expand the Users tab, and look for the user you want to reset credentials for.
- Click the Edit button.
- Navigate to the Credentials tab.
- Click Force change to enable the password reset after the user logs in with the newly assigned password.
- Click Save to confirm the change.

You have now change the user password. Once your user logs in with the newly set password, they will be asked to change it to their own.
Assigning portal views #
You can add and remove portal views as needed.
→ To assign the views #
- Log in in Quality Clouds platform.
- Go to Account section.
- Expand the Users tab, and look for the user you want to reset credentials for.
- Click the Edit button.

- Assign or remove the views user has access to, by checking and unchecking the entries in the following fields:
- ServiceNow views
- Salesforce views
- Office 365 views
- Click Save to save your changes.
You have now change the view permissions for your user.


